How-To: Recording, Saving, and Sharing Zoom Meetings

Aug 03, 2020
By:  Gracia Ostendorf
How-To: Recording, Saving, and Sharing Zoom Meetings
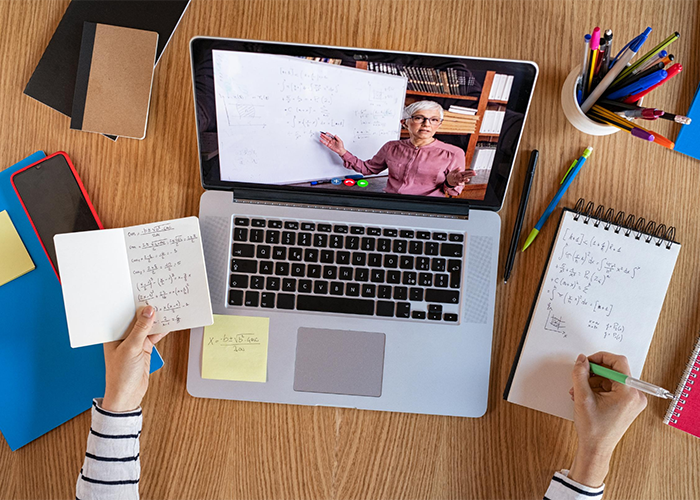
Zoom is a video conferencing tool that you can use to hold virtual meetings and class sessions with your students. Its recording feature allows you to save your meetings and share them with students for additional review of lecture or class meeting content.
Downloading the Zoom Desktop App
Zoom can be accessed both through your web browser and through the Zoom app that you download to your computer or device. However, we recommend using the Zoom app, since it has functionality that isn’t included in the web browser version of Zoom. If you want to be able to save recordings of your Zoom meetings locally to your computer, you must use the Zoom desktop app. Both versions of Zoom can save recordings virtually to the Cloud.
You can download the desktop app from Zoom’s website and follow the instructions on your device to complete installation and setup. When prompted, log in to Zoom using your Miami email address and password. (Note: If it is your first time logging into the Zoom desktop app, choose "Sign In with SSO." Type "miamioh" in the box, click "Continue," and then complete the login process as usual with Duo).
Need guidance getting started with Zoom meetings? Learn how to schedule, start, and share Zoom meetings in Canvas first.
Recording Zoom Meetings
As the host of a Zoom meeting, you have the ability to record your meeting and save that recording either to your computer or to the Cloud. You can also make someone in your meeting a co-host, which would give them the ability to record the meeting as well.
Where should I save my recordings?
Saving your recordings to the Cloud allows you to access the recordings through the Zoom portal integrated in Canvas, as well as through your Zoom account after logging in to miamioh.zoom.us. This makes it easy to access, play, or download your recordings from any device, as well as share them with students in Canvas easily by just posting the link.
Saving your recordings to your computer allows you to immediately have the .mp4 video file on your computer without having to download it from the cloud. However, to share your meeting with students, you will then have to go through the extra step of uploading the video file to YouTube or a third-party storage system like Google Drive or Kaltura, then sharing the link with your students in Canvas.
To start/stop recording a Zoom meeting:
- Start your Zoom meeting, then click the “Record” button that appears along the bottom of the meeting window.
- Select “Record on this Computer” if you want to save an .mp4 file of the recording on your computer. Select “Record to the Cloud” if you want to save your recording to the Zoom cloud, from which you can stream or download your recordings later.

- You’ll see a “Recording” indicator in the upper left-hand corner of your screen to let you know that the meeting is being actively recorded.

- Press the “Stop Recording” button (either in the upper left-hand corner or along the bottom of your meeting window) to stop recording.

Alternatively, you can set your Zoom meetings to automatically start recording when you start the meetings so that you don't have to worry about remembering to turn on the recording feature.
To automatically record a Zoom meeting:
- Log in to Canvas, open your course, and click on “Zoom” in the left-hand navigation menu (if you don't see this option, you may need to add Zoom to your navigation menu in your course's settings).
- Click the “Schedule a New Meeting” button.

- After giving your meeting a name, description, date, and filling out other options, check the box next to “Record the meeting automatically” in the “Meeting Options” section.
- After checking this box, additional options will appear, allowing you to select whether you’d like to save your recording to your computer or in the cloud.

- When you start your meeting, Zoom should automatically start recording your meeting.
Accessing Your Recordings
Where your meeting recordings are saved depends on the choice you made when you started your recording.
Accessing recordings saved locally to your computer
If you chose to save your recording locally to your computer, the video file will be saved in your computer’s Documents folder. You can also find, play, and download these video files through the Zoom desktop app:
- Open the Zoom desktop client and click on “Meetings.”

- Click on the “Recorded” tab and locate your meeting.
- Click the “Open” button to open the folder containing the video file on your computer. Click the “Play Video” or "Play Audio Only" button to play the meeting using the default media player on your computer.

Accessing recordings saved to the Cloud
If you chose to save your recording to the Zoom Cloud, you can access your recordings through the desktop app, as described for local recordings above. Alternatively, you can also access cloud recordings through Canvas:
- Log in to Canvas, open your course, and click on “Zoom” in the left-hand navigation menu (if you don't see this option, you may need to add Zoom to your navigation menu in your course's settings).
- Click on the “Cloud Recordings” tab. You’ll see a list of any meeting recordings you have saved to the cloud (it may take a little while for recordings to appear after your meeting ends).

- Click on the name of your meeting to open a new page, where you can download or share the full video meeting recording, or just the audio recording.

You will also get an email from Zoom letting you know when your recording is available in the cloud. This email will contain a link that takes you directly to the recording in the Zoom cloud within your Zoom account page, as well as a link and password that you can use to share the recording with others.
Sharing Your Recordings with Students
The easiest way to share recordings with your students is by saving the recordings to the Zoom Cloud and sharing the links anywhere in your Canvas course site, such as in an Announcement or on a Page.
If you saved your recording files to your computers, we recommend uploading them to a third party or cloud storage app such as Google Drive, Kaltura, or Youtube, then embedding or sharing the link to the video with your students in your Canvas course site. This will help save file storage in your course.
To learn more about recording Zoom meetings and finding your recordings in the Zoom desktop app, take a look at this quick video:
You can find additional information about recording meetings in the following Zoom guides: